Laravel 7 : การใช้ Model เพิ่มและอ่านข้อมูล (Create, Read)
หลังจาก สร้าง Model และไฟล์ migration แล้ว ลองมาหัดใช้งาน Model เพื่อ เพิ่มหรือสร้าง (Create) และ อ่าน (Read) ข้อมูล Article กัน
ในตอนนี้เราจะทดสอบด้วย tinker ซึ่งเป็นเหมือนเชลล์ (shell) ของ Laravel ใช้เชื่อมต่อกับโปรแกรมที่เรากำลังพัฒนาอยู่ได้
วิธีการเรียกใช้งาน tinker ทำได้โดยรันคำสั่ง php artisan tinker
$ php artisan tinker
Psy Shell v0.9.12 (PHP 7.2.28 — cli) by Justin Hileman
>>> exit
Exit:  Goodbye
พิมพ์คำสั่ง exit หรือ Ctrl+D เพื่อออกจากเชลล์ของ tinker ได้
หมายเหตุ ทุกครั้งที่มีการแก้ไขโปรแกรม เราต้องออกจาก tinker แล้วรัน php artisan tinker ใหม่อีกครั้ง เพื่อให้โปรแกรมที่แก้ไขมีผล
create() เพิ่มหรือสร้างข้อมูล
หลังจากเรารันคำสั่ง php artisan migrate ในตอนที่แล้ว เราจะได้ตารางข้อมูล articles เปล่าๆ ไม่มีข้อมูลใดๆ
เราสามารถใช้คลาสเมธอด App\Article::create() เพื่อเพิ่มข้อมูลเข้าไปในตาราง articles โดยข้อมูลที่เพิ่มสามารถระบุได้ในรูปแบบ array ตามชื่อฟิลด์ในตาราง เช่น ระบุ title, body ตัวอย่างเช่น
App\Article::create([
    'title' => 'The First article',
    'body' => 'Body of the first article.',
]);
ทดลองรันคลาสเมธอดในเชลล์ tinker
$ php artisan tinker
Psy Shell v0.9.12 (PHP 7.2.28 — cli) by Justin Hileman
>>> App\Article::create([
        'title' => 'The First article',
        'body' => 'Body of the first article.',
]);
Illuminate/Database/Eloquent/MassAssignmentException with message 'Add [title] to fillable property to allow mass assignment on [App/Article].'
>>>
ผลลัพธ์การรันจะมี error เกิดขึ้น คือไม่สามารถเพิ่มข้อมูลได้ ติดปัญหา MassAssignmentException ซึ่งเป็นระบบความปลอดภัยใน Laravel คือ ต้องระบุชื่อฟิลด์ที่อนุญาตให้เพิ่มได้ ตอนเรียกใช้เมธอด create()
พิมพ์คำสั่ง exit เพื่อออกจากเชลล์ tinker
วิธีการแก้ไข ต้องเพิ่มตัวแปรคลาส $fillable เพื่อระบุชื่อฟิลด์ที่อนุญาตให้เพิ่มได้ ในไฟล์ Model เช่นในที่นี้คือไฟล์ app/Article.php
ตัวอย่างการแก้ไขไฟล์ app/Article.php เพิ่มตัวแปรคลาส $fillable ให้สามารถเพิ่มข้อมูลฟิลด์ title และ body ได้
// app/Article.php
namespace App;
use Illuminate\Database\Eloquent\Model;
class Article extends Model
{
protected $fillable = ['title', 'body'];
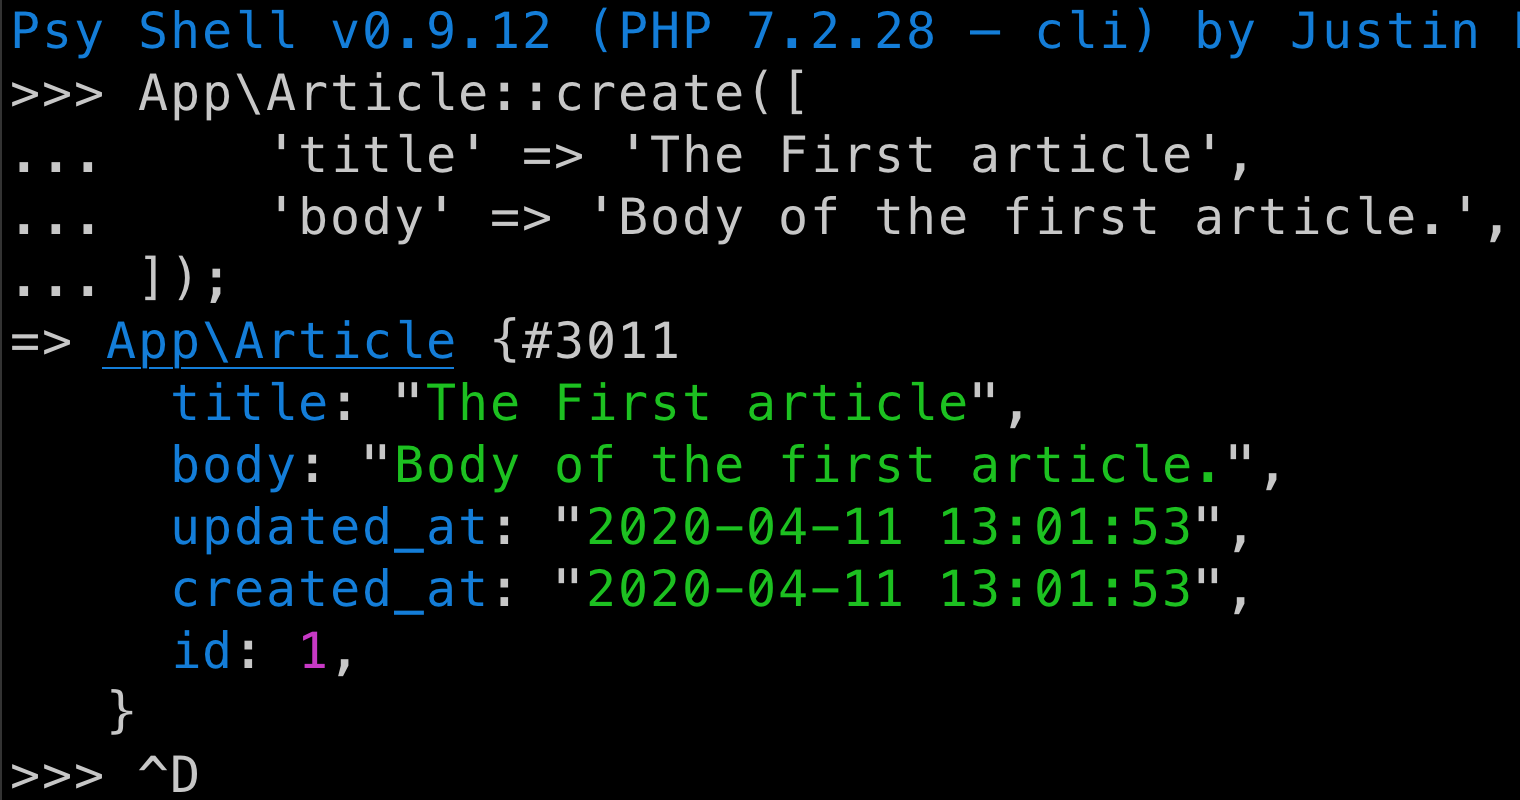
}ลองรัน php artisan tinker แล้วรันคำสั่ง App\Article::create() เพื่อทดสอบเพิ่มข้อมูลอีกครั้ง
$ php artisan tinker
Psy Shell v0.9.12 (PHP 7.2.28 — cli) by Justin Hileman
>>> App\Article::create([
        'title' => 'The First article',
        'body' => 'Body of the first article.',
    ]);
=> App\Article {#3011
     title: "The First article",
     body: "Body of the first article.",
     updated_at: "2020-04-11 13:01:53",
     created_at: "2020-04-11 13:01:53",
     id: 1,
   }
>>>
ผลลัพธ์ที่ได้จะตอบกลับ (return) มา ในรูปแบบ Article Object
หมายเหตุ id เป็น primary key ของตาราง จะถูกรันเป็นตัวเลขเพิ่มขึ้นเรื่อย ส่วน created_at และ updated_at จะถูกเพิ่มโดยอัตโนมัติ เพื่อเก็บข้อมูลเวลาที่สร้างข้อมูล และเวลาที่ข้อมูลมีการเปลี่ยนแปลงล่าสุด
ออกจาก tinker แล้วลองเข้า mysql เพื่อทดลอง query ข้อมูล
mysql> SELECT * FROM articles;
+----+-------------------+----------------------------+---------------------+---------------------+
| id | title             | body                       | created_at          | updated_at          |
+----+-------------------+----------------------------+---------------------+---------------------+
|  1 | The First article | Body of the first article. | 2020-04-11 13:01:53 | 2020-04-11 13:01:53 |
+----+-------------------+----------------------------+---------------------+---------------------+
1 row in set (0.00 sec)
สังเกตว่าข้อมูลที่เพิ่ม ชื่อฟิลด์จะตรงกับชื่อคีย์ใน object ที่ตอบกลับมาตอนเพิ่มข้อมูล
เพื่อใช้ในหัวข้อถัดไป ใช้เชลล์ tinker เพื่อข้อมูลอีกสองชุด ตามตัวอย่าง
$ php artisan tinker
Psy Shell v0.9.12 (PHP 7.2.28 — cli) by Justin Hileman
>>> App\Article::create([
        'title' => 'The Second article',
        'body' => 'Body of the second article.',
    ]);
=> App\Article {#3011
     title: "The Second article",
     body: "Body of the second article.",
     updated_at: "2020-04-11 13:07:29",
     created_at: "2020-04-11 13:07:29",
     id: 2,
   }

>>> App\Article::create([
        'title' => 'The Third article',
        'body' => 'Body of the third article.',
    ]);
=> App\Article {#3022
     title: "The Third article",
     body: "Body of the third article.",
     updated_at: "2020-04-11 13:07:35",
     created_at: "2020-04-11 13:07:35",
     id: 3,
   }
>>>
ถึงตอนนี้เรามีข้อมูล articles จำนวน 3 แถว
mysql> SELECT * FROM articles;
+----+--------------------+-----------------------------+---------------------+---------------------+
| id | title              | body                        | created_at          | updated_at          |
+----+--------------------+-----------------------------+---------------------+---------------------+
|  1 | The First article  | Body of the first article.  | 2020-04-11 13:01:53 | 2020-04-11 13:01:53 |
|  2 | The Second article | Body of the second article. | 2020-04-11 13:07:29 | 2020-04-11 13:07:29 |
|  3 | The Third article  | Body of the third article.  | 2020-04-11 13:07:35 | 2020-04-11 13:07:35 |
+----+--------------------+-----------------------------+---------------------+---------------------+
3 rows in set (0.00 sec)
get() อ่านข้อมูลทั้งหมด
หลังจากที่มีข้อมูลในตารางแล้ว เรามาทดลองดึงข้อมูลกัน โดยจะเริ่มจากการใช้คลาสเมธอด App\Article::get() เพื่อดึงข้อมูลทั้งหมดออกมา
ทดลองใช้ tinker เพื่ออ่านข้อมูลทั้งหมด
$ php artisan tinker
Psy Shell v0.9.12 (PHP 7.2.28 — cli) by Justin Hileman
>>> App\Article::get()
=> Illuminate\Database\Eloquent\Collection {#3021
     all: [
       App\Article {#3022
         id: 1,
         title: "The First article",
         body: "Body of the first article.",
         created_at: "2020-04-11 13:01:53",
         updated_at: "2020-04-11 13:01:53",
       },
       App\Article {#3023
         id: 2,
         title: "The Second article",
         body: "Body of the second article.",
         created_at: "2020-04-11 13:07:29",
         updated_at: "2020-04-11 13:07:29",
       },
       App\Article {#3024
         id: 3,
         title: "The Third article",
         body: "Body of the third article.",
         created_at: "2020-04-11 13:07:35",
         updated_at: "2020-04-11 13:07:35",
       },
     ],
   }
>>>
ผลลัพธ์ที่ได้จะอยู่ในรูปแบบ Collection ซึ่งเป็นคลาสใน Laravel เพื่อช่วยในการประมวลผลได้ง่าย ตัวอย่างเช่น ถ้าเราต้องการวนลูปเพื่อแสดงผลที่ละค่า ก็สามารถทำได้โดยใช้ foreach
ขั้นแรก เก็บค่าที่ได้จากการรันไว้ในตัวแปร $articles แล้วก็ใช้ foreach เพื่อวนลูป โดยแต่ละลูปเก็บไว้ในตัวแปร $article เพื่อเรียกใช้
ตัวอย่างการวนลูปข้อมูลที่ดึงจาก Article โดยแสดงข้อมูล id และ title
>>> $articles = App\Article::get();

>>> foreach ($articles as $article) {
...     echo "{$article->id} {$article->title}" . PHP_EOL;
... }

1 The First article
2 The Second article
3 The Third article
find() อ่านข้อมูลทีละค่า
หากเรารู้ค่า id ของข้อมูล แล้วต้องการเฉพาะข้อมูลชุดนั้น เราสามารถใช้คลาสเมธอด App\Article::find() โดยระบุค่า id ไว้ในเมธอด
ตัวอย่างการใช้ tinker เพื่ออ่านข้อมูลที่มีค่า id เท่ากับ 2
$ php artisan tinker
Psy Shell v0.9.12 (PHP 7.2.28 — cli) by Justin Hileman
>>> App\Article::find(2)
=> App\Article {#3019
     id: 2,
     title: "The Second article",
     body: "Body of the second article.",
     created_at: "2020-04-11 13:07:29",
     updated_at: "2020-04-11 13:07:29",
   }
>>>
ผลลัพธ์ที่ได้ จะเหมือนกับตอนที่เรียกเมธอด create() คือตอบกลับมาเป็นคลาส Model ของ Article เลย
ตัวอย่างการเก็บผลลัพธ์ไว้ในตัวแปร $article แล้วแสดงค่าฟิลด์ body
>>> $article = App\Article::find(2);

>>> echo $article->body . PHP_EOL;
Body of the second article.
ในตอนต่อไป จะเป็นการแก้ไข (Update) และลบ (Delete) ข้อมูลกัน
ข้อมูลเพิ่มเติม